Create a managed VM
The user who creates the server has full root or administrator rights. Once a server has been set up, it retains all its settings (resources, drive allocation, password, etc.), even after a reboot at operating system level.
An exception applies when Premium Full Managing is enabled. In this case, root and administrator rights remain with centron in order to ensure a consistent standard of quality. For further information, see Premium Full Managing.
The server will only be removed from your server overview once you have permanently deleted it. For further information, please see the Virtual Machines page.
Prerequisites
- Access to the centron Control Panel
Creating a VM
Prerequisites: Ensure that you have the appropriate permissions. Only contract holders, server administrators or users with the ‘Server permissions’ role can set up a VM. Other user types have read-only access or no access at all and cannot deploy changes.
-
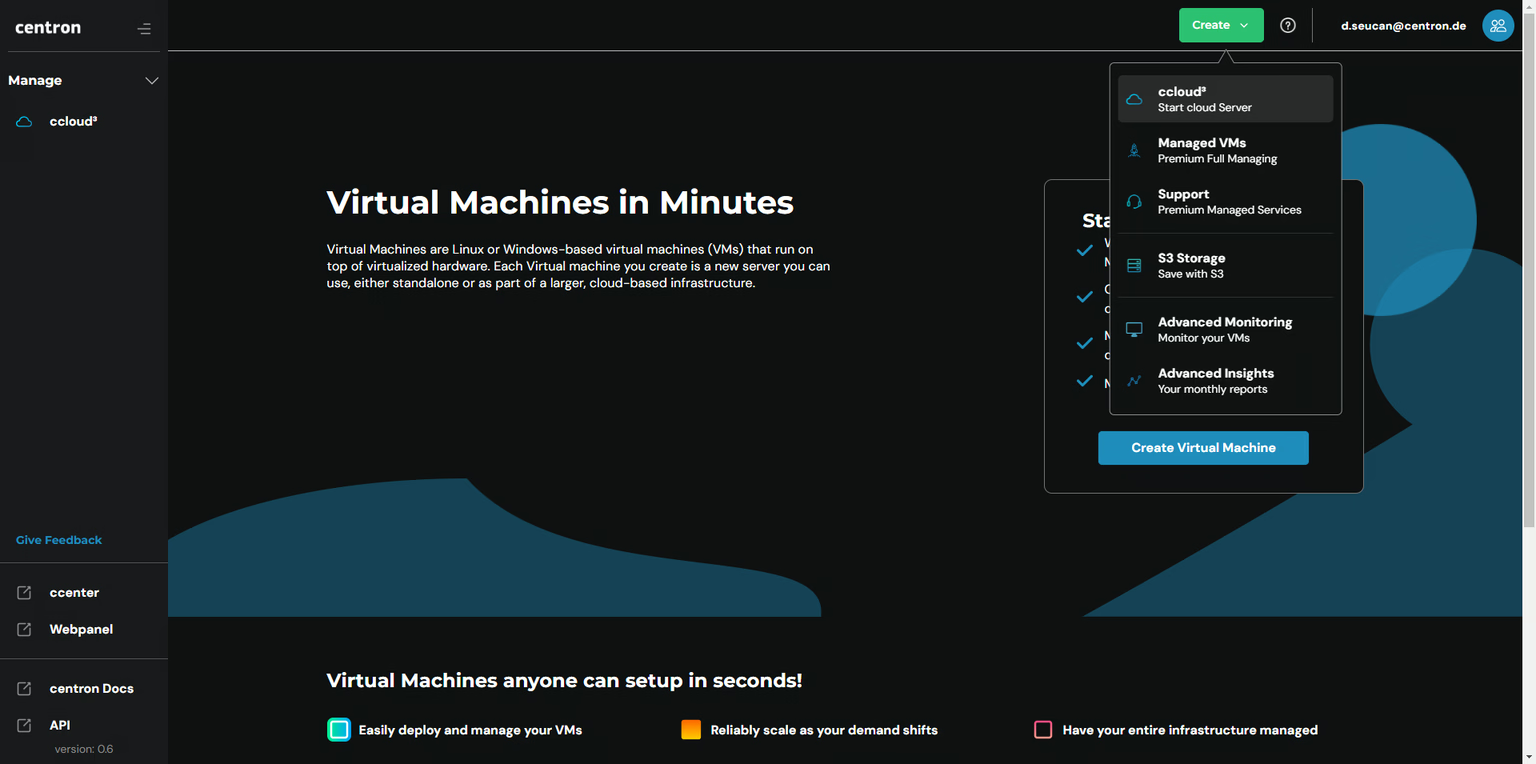
Click on 'Create server' in the server overview or in the sidebar.
-
When creating a VM, configure the following settings:
-
Pool: Select a pool that meets your requirements. You will receive an application recommendation for each pool.
-
CPU architecture: Within your pool, you can also select your CPU architecture (AMD or Intel).
-
Operating system: Choose from various versions of Windows and flavours of Linux.
-
CPU cores: Specify the number of CPU cores. You can change this after deployment. Please note that there are configuration limits.
-
RAM: Specify the amount of RAM. You can choose any amount between 1 GB and 64 GB in increments of 1 GB. This setting can be increased after deployment.
-
Storage space: Specify the amount of storage space required. Allocate between 100 GB and 1,000 GB per VM in 1 GB increments. Whether HDD or SSD is used is determined by your pool selection.
If you require more resources, please contact your Account Manager or centron Support.
- Premium Full Managing: Select Premium Full Managing to set up Backup-as-a-Service and Monitoring-as-a-Service for your VM.
Premium Full Managing can only be booked in conjunction with Premium Managed Services, not with Advanced Monitoring.
- Server name: Choose a unique server name.
- Password / SSH key: Choose a secure password or an SSH key to access your VM.
Starting, stopping, resetting and deleting a VM
We allocate dedicated resources to each customer. You do not share your physical CPUs with other centron customers. For this reason, servers that are shut down at operating system level still incur costs.
You should use the ccenter to delete virtual machines so that the resources are fully released and no charges are incurred.
Stopping a VM
- Select the server you wish to stop.
- (Optional) In the dialogue box that appears, connect via the remote console and shut down the VM at operating system level to prevent data loss.
- In the server overview, move the toggle to the left to stop your VM, or use the info icon at the far right of the bar and click Icon > Stop to stop your VM. In the server details view, move the toggle to the left.
Starting a VM
- Select the VM you wish to start.
- In the server overview, slide the toggle to the right to start your VM, or use the info icon at the far right of the bar and click Icon > Start to start your VM. In the server details view, slide the toggle to the right.
- The server will boot up. A new public IP address will be assigned, depending on the configuration.
Resetting a VM
- Select the VM you wish to restart.;
- In the server overview, click the info icon at the far right of the bar and click Icon > Reset to restart your VM. In the server details view, click the reset icon.
- The server will shut down and a hard reset will be performed.
Deleting a VM
- Select the VM you wish to delete.
- In the Server Details view, go to Server Details > Resources and click Delete to delete your VM.
- The VM and its storage will be deleted. Billing for this VM will be paused.